In this tutorial, learn to Create Hero Section in WordPress using GenerateBlocks (a powerful WordPress Block) plugin. Building a hero section is easier when you are using the GB Pro version as it has inbuilt templates that can be imported with one-click.
Moreover, in this guide, you will also learn
- Installing GenerateBlocks to create hero block.
- Use Template Library from GenerateBlocks Pro to import hero page.
- Install SVG Support plugin to upload SVG Icons/images.
- Use of free SVG Graphics in the hero section.
Install GenerateBlocks to Create Hero Section in WordPress
For creating the hero section, first, we are going to install the GenerateBlocks plugin that is available in the WordPress repository.
- Go to your Dashboard.
- Go to Plugins > Add New.
- Search GenerateBlocks.
- Click on Install and Activate.
- Now you are ready to use GenerateBlocks with your installed theme.
Also Read: GenerateBlocks Review
If you are want to use the GenerateBlocks Pro version then get the pro plugin from the official GB Website, Install it as a plugin, activate it, and enter the license key.
Installing Safe SVG plugin to upload SVG Files
Uploading a big image slow down your website, so here we are going to upload SVG image in our hero section. Actually, you can design your own SVG image and upload it or download from the internet. The size of SVG files is generally smaller compared to jpg or PNG.
For this tutorial, I am going to use SVG images from undraw.co, you can download SVG or PNG images from this site for free to use in your project.
SVG files contain XML codes and WordPress doesn’t allow you to directly upload SVG files in the media library due to security purposes. so, here we are going to use SVG Support or Safe SVG plugin.
- Go to your Dashboard.
- Go to Plugins > Add New.
- Search for SVG Support or Safe SVG plugin. Install only one plugin.
- Install and Activate the Plugin.
- Now you can upload SVG files in your Media Library.
Create Hero Section in WordPress – Step by Step Process
After installing the GenerateBlocks and SVG Support/Safe SVG plugins, now let’s add hero block in WordPress. Basically, we create a hero section on our home page. so, Go to Pages and click on Add New.
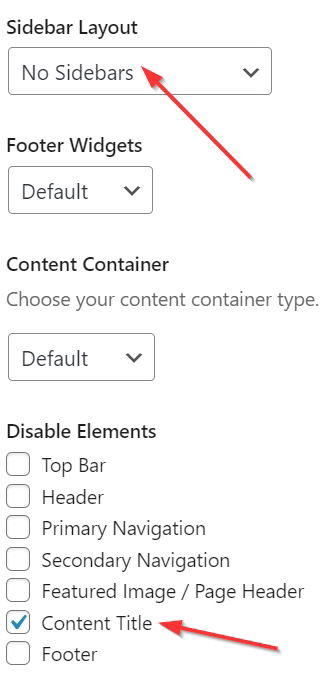
Here, we are going to use the full width of our page so disable the sidebar in your theme. Since I am using GeneratePress Theme, I have an option to disable the sidebars (No Sidebars).
Also, I am going to use Disable Elements features from GeneratePress WordPress Theme to disable content title.
To use Disable Elements, you need to activate the Disable Module from GeneratePress Settings. Go to Appearance > GeneratePress > Activate the Disable Elements Module.
Moreover, your WordPress Theme may have similar features, please check and set up it.
Now, Let’s add Hero block step by step using GenerateBlocks. We are going to use Container, Grid, Headline, and Buttons blocks.
1. Add a Container Block
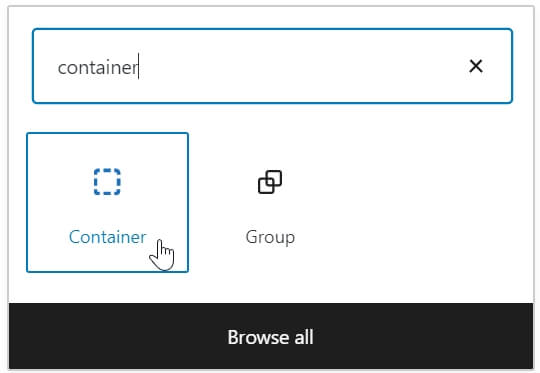
Go to the content area and Add New Block Container.
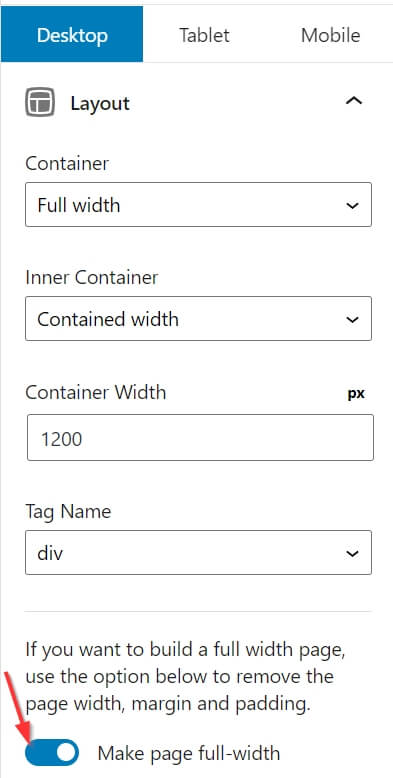
After adding a container block, make a page full-width using the container block settings in the sidebar.
Now, I am going to Backgrounds color by using a gradient to the whole container or you can even use background color here.
I am using #8e2de2 hex code for color one & #4a00e0 for color two with full opacity and remaining setting as in the screenshot.
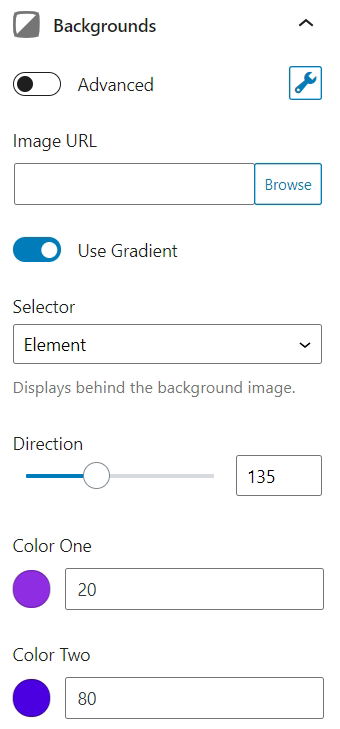
Also, use margin and padding for the container from the sidebar setting to make the hero section look clean and better.
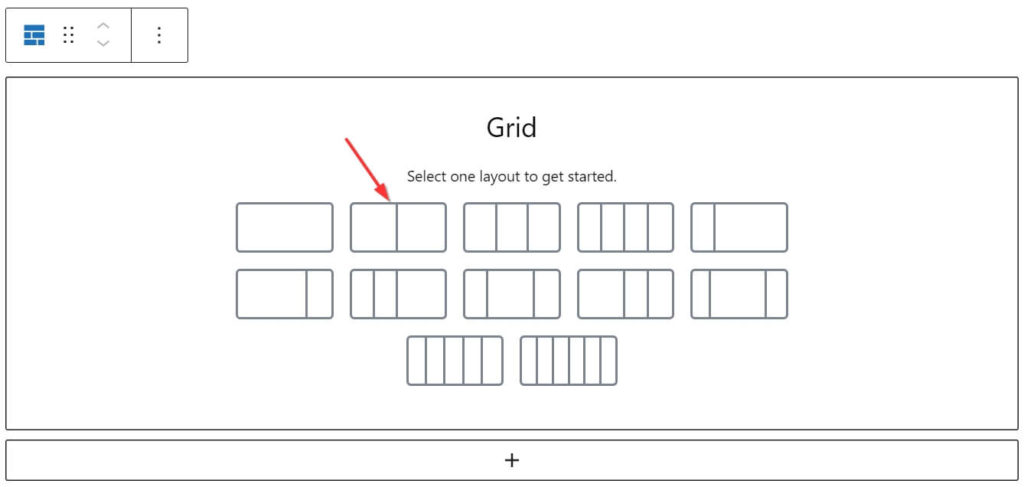
2. Add Grid inside Container Block
Here inside the Container block, we are going to use 50/50 Grid Layout, where on one grid we are going to add text including heading, paragraph & button and on other grid we are going to use SVG image.
3. Adding Headline, Paragraph and Buttons
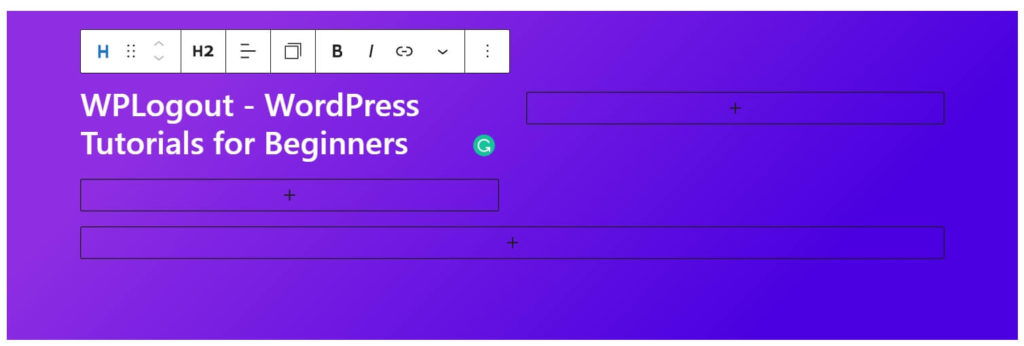
On the left Grid, we are going to add Headline, Paragraph and a Buttons so follow the below steps.
Click on the + icon and add Headline block (not default Heading from WordPress). Add your headline, by default I am using H2. Also, manage typography, spacing, colors, etc. for H2 from the sidebar settings.
Below, the H2 Headline, Add a new Headline block, choose paragraph instead of H2 and add your Text.
Also, add GenerateBlocks Buttons (not default WordPress Button) below the Paragraph and adjust typography, colors, icons, margin, padding for both paragraphs, buttons as required.
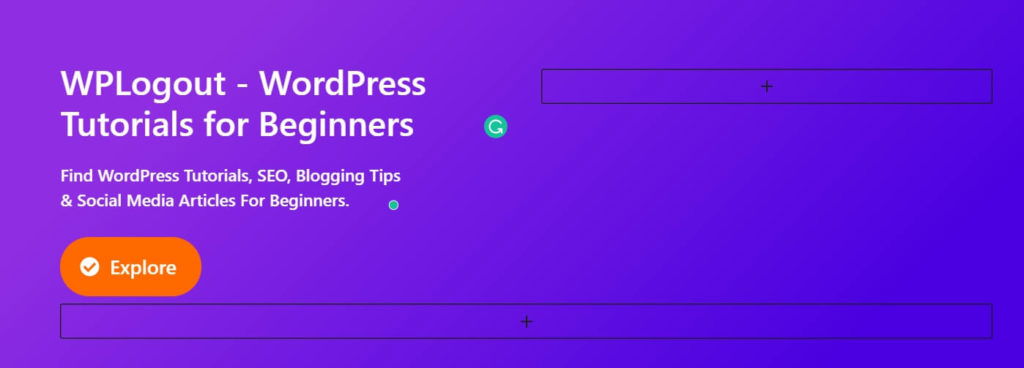
Finally, We have finished the part of left side Grid, now add image to the right grid.
4. Adding SVG Image
Now, on the right Grid, we are going to add an image, you can either choose jpg, png images, or SVG. Here I am using SVG image from undraw.co since the size of the SVG file is smaller.
Click on the + sign and select the image block to add the SVG image. For example, I am using a random image from undraw.co. Manage position, size, etc for the image and preview to your hero section.
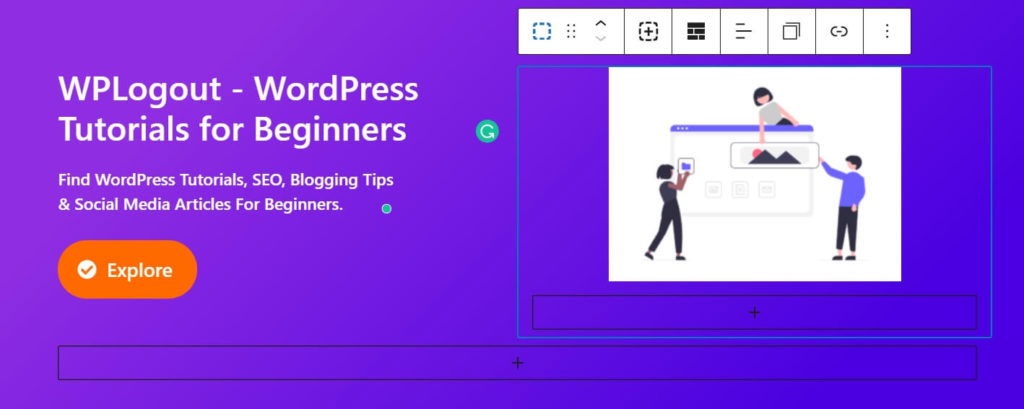
5. Hero Section Result
Finally, we are able to create a hero section using GenerateBlocks. You can modify the look as your need. Adjust margin, padding, and other settings as necessary.

This is just a simple hero section, you can design an advanced hero block and create an amazing layout or you can import from the GB Pro version as mentioned below.
Here in the hero section, you can also add a subscriber box or testimonial of your customers, etc.
Import Pre-built Hero Block from GenerateBlocks Pro
If you are a GenerateBlocks Pro user then you don’t have to worry about creating the hero section in WordPress. There are already pre-built Hero Blocks in the GeneratBlocks Pro version with many other pre-built custom blocks that can be imported with one click.
To import a pre-built hero block, you have to install and activate the GenerateBlocks plugin. Also, activate the GB Pro license and then follow the following steps.
Go to the post/page where you want to import and add the hero block.
Click on Add New Block and search Template Library.
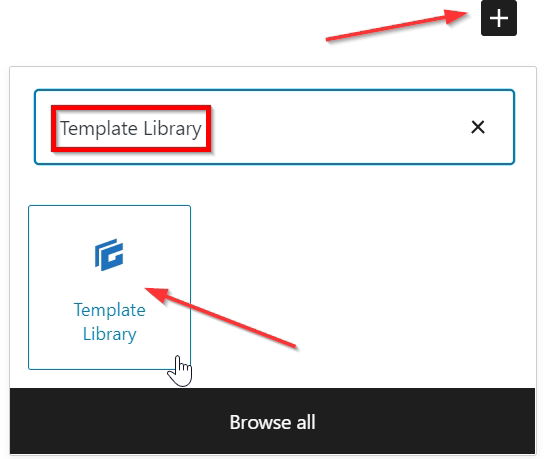
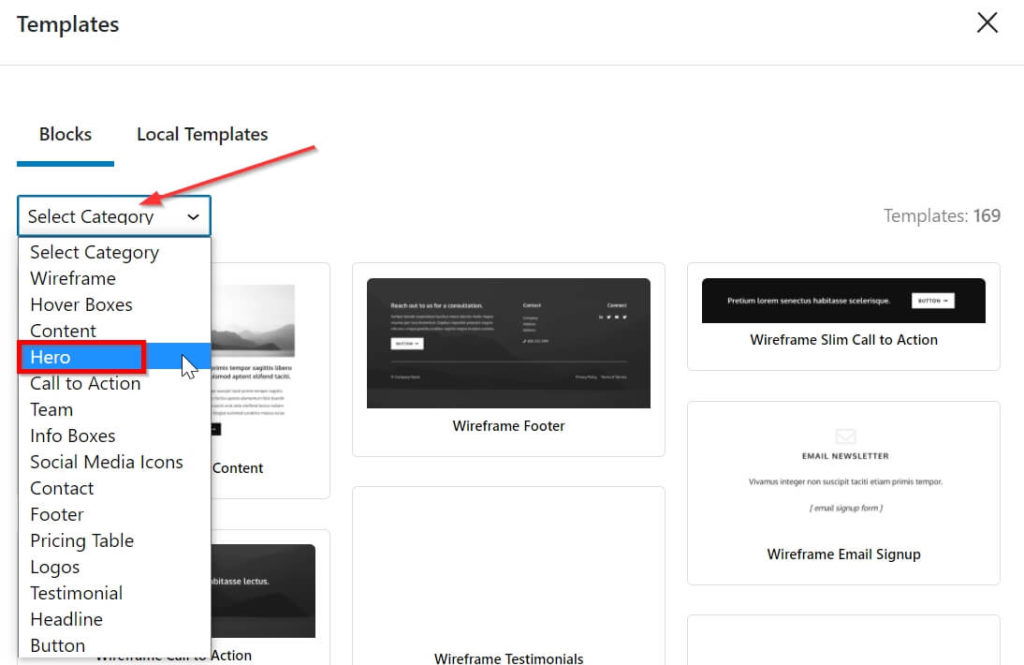
Now you will see the full template library. From Select Category, Click on Hero Block.
Now, you can see various Hero Blocks that are pre-design, you can import them to your website with one-click, select the one and try it on your WordPress site.
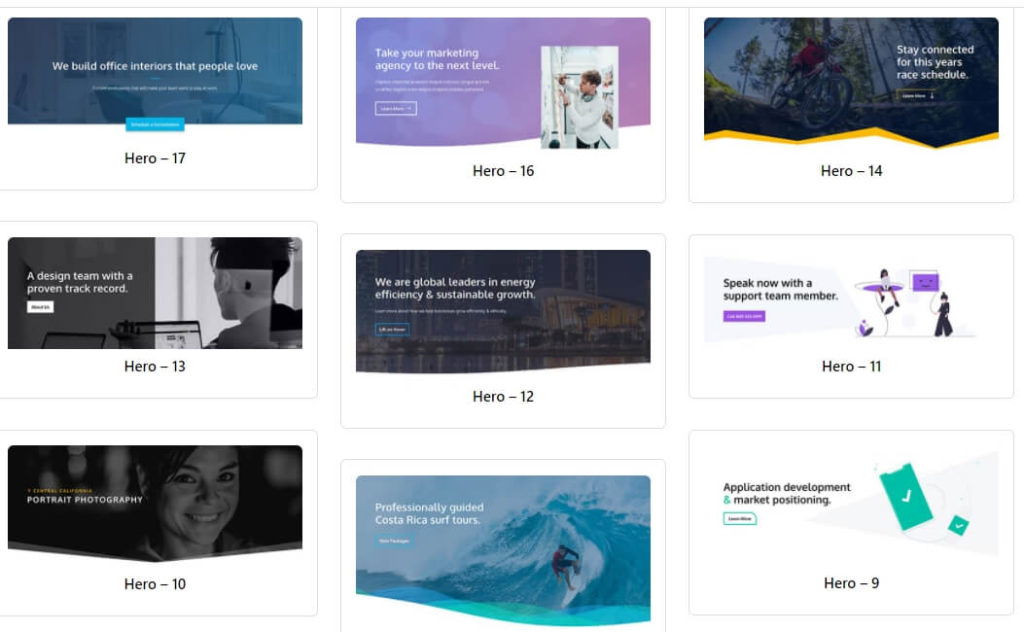
The hero block is fully customizable so, replace images if exist, change the design, colors quickly using GenerateBlocks settings. Customize the setting until it meets your needs.
Furthermore, the plugin comes with a variety of features so, I fully depend on the GenerateBlocks Pro version to create awesome designs quickly.
At the End
With GenerateBlocks you can design anything you want in your WordPress site, from creating a hero section to designing Amazon affiliate product boxes, etc.
I hope now by reading this guide, you will be able to create Hero Section in WordPress using GenerateBlocks. If you have any questions then please feel free to comment below.