If you are new to web development, you’ve likely heard the term Local WordPress Development or Running WordPress Locally at least once before.
In this article, I will cover the basics of Local WordPress Development so that you have a clearer understanding of what exactly it entails, how it can benefit your WordPress career, and how to get started with it.
In this guide, you will also learn more about
What is LocalWP?
LocalWP is a simple software that allows you to run a local development environment for WordPress. It takes care of creating a database, installing WordPress with default themes and plugins and it has many more features like MailHog, LiveLinks, and installing Add-ons.
If you are using XAMPP/MAMP, running a website locally can be quite a hassle because there are some prerequisites you have to meet before you get started.
First off, you need to install XAMPP, then you need to create a database, download WordPress files, and start web server software (Apache), PHP, and MySQL which usually is time-consuming.
This is where LocalWP comes in handy because it takes care of all these things for you with just a few clicks.
LocalWP vs XAMPP
You can install WordPress on your PC using different approaches: One is by using LocalWP and another by using XAMPP
| LocalWP | XAMPP |
|---|---|
| Mainly optimized for WordPress Development | Mainly used to Develop PHP Applications |
| WordPress Installation is easy | Need more time for Installation |
| There is no facility for LiveLinks | GUI is not best compared to LocalWP |
| Easy to set up new themes and plugins | Difficult to set up new themes and plugins |
| A Graphical User Interface is best | Access your database in PHPMyAdmin. |
| Share the development of your local website using LiveLinks to anyone on the internet | There is no facility of LiveLinks |
How to Install LocalWP for Local WordPress Development?
If you’re a developer and you want to test a new theme or plugin on your local host, then you’re in luck. LocalWP makes it incredibly easy.
Here are four simple steps that can help set up your WordPress site up and running quickly. All you need is a few clicks, configuration, and a few minutes of your time.
Let’s get started!
Step 1
- Download LocalWP from the official website.
- Provide your email ID and password.
Step 2
- Install LocalWP to your PC ( Mac, Windows, and Linux)
Step 3
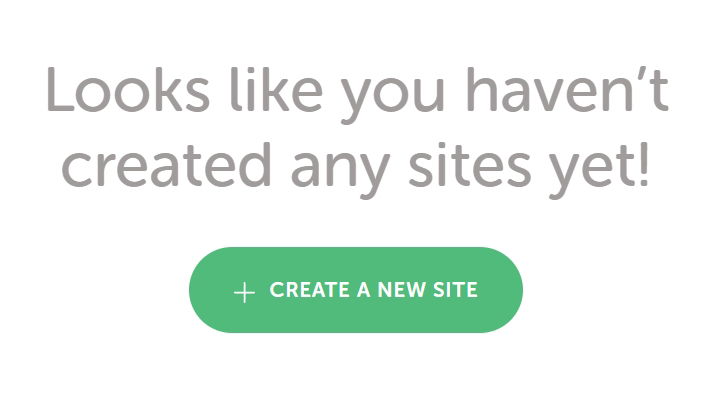
Now you get to see the cool interface.
- Click on Create a New Site
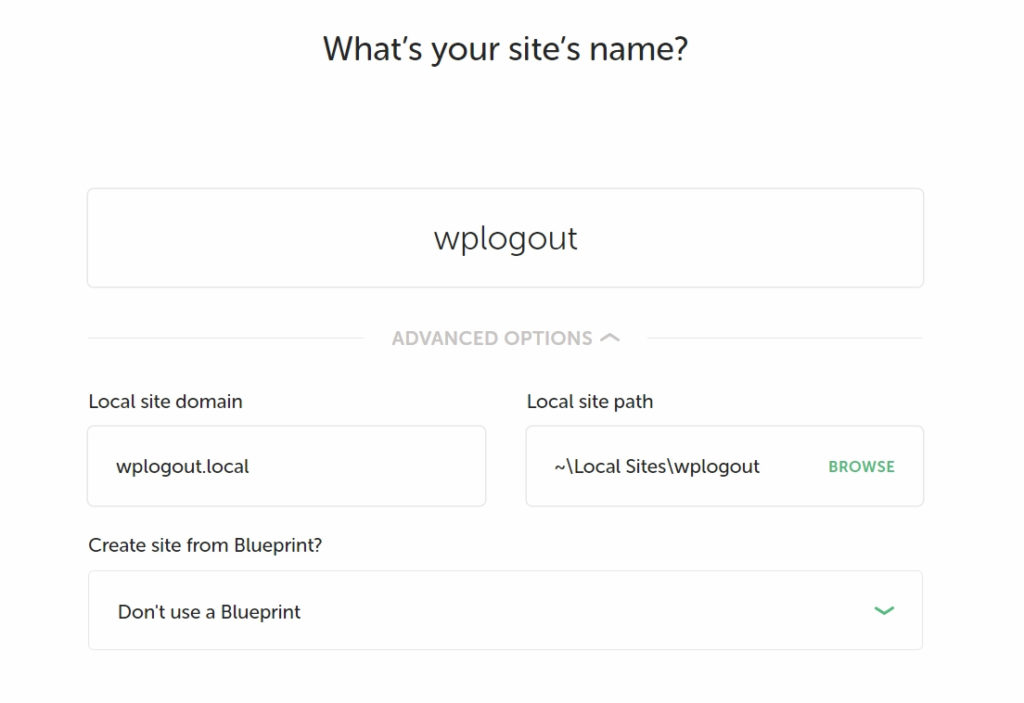
- In the next step, enter your project/sitename and click on Continue.
- Here you will get the local site domain as yoursitename.local, you can browse it using this link.
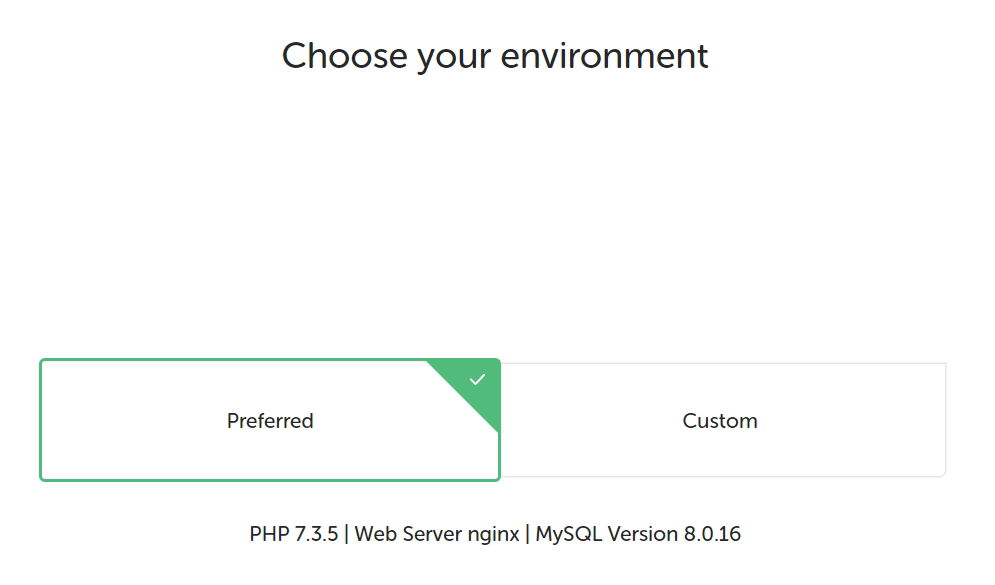
- Here you can choose the environment. It has a predefined preferred environment as well as you can set up a Custom environment.
- You can select PHP version, Web Server between nginx & Apache, select database between MariaDB & MySQL.
- After setting up click on Continue.
Step 4
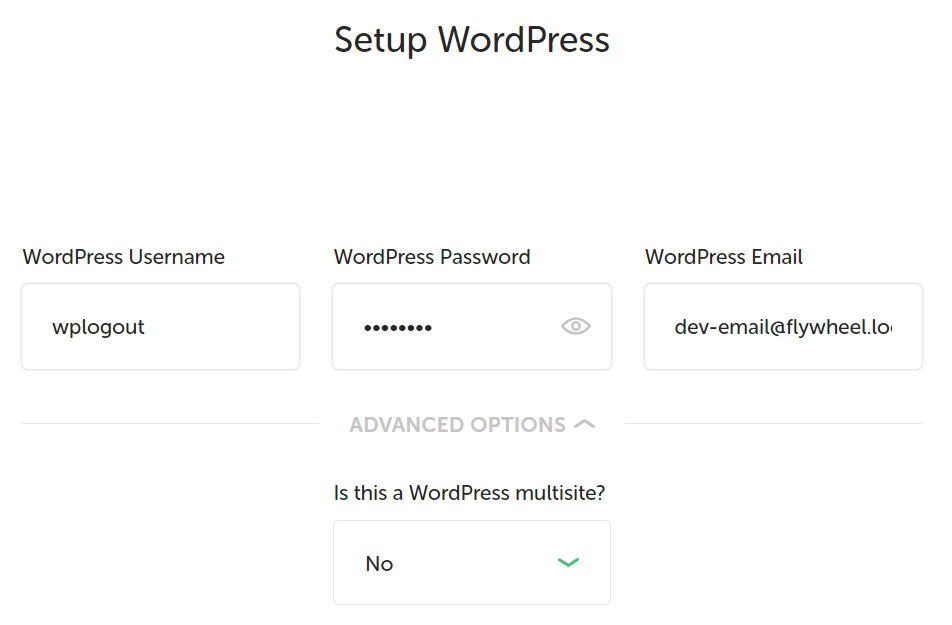
In the final stage,
- You have to set up a WordPress Username & Password.
- Don’t change your WordPress Email.
- Also, if you want to create multisite then you can also find the option here.
- After setting up click on Add Site.
- Here, you need to wait a few minutes for the total WordPress setup.
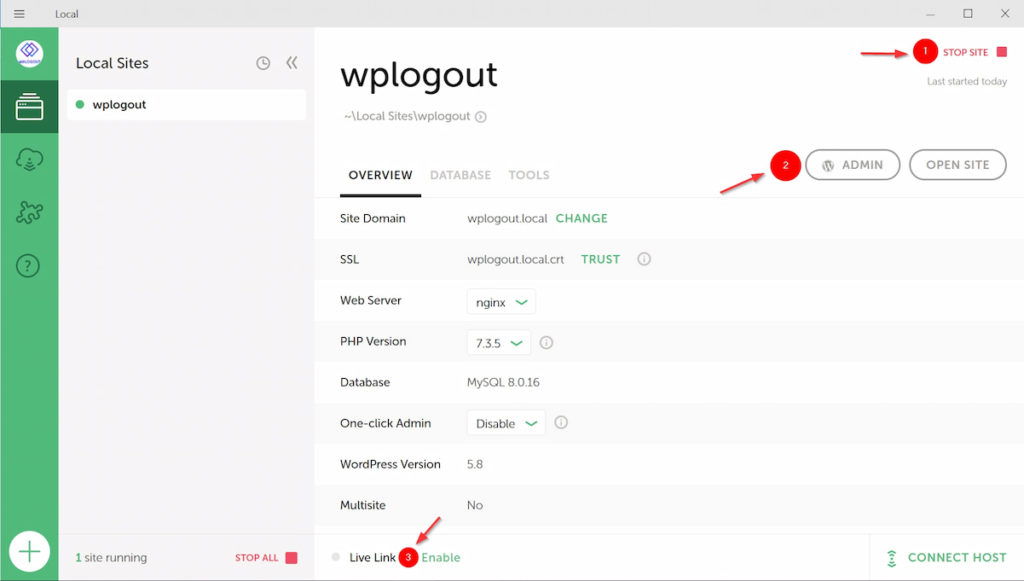
- After that Enable the site in order to access your site from the browser (as in screenshot no. 1).
- Now access your site by clicking Admin in your browser. (Screenshot no. 2).
MAILHOG – Reset Password
When you forget your WordPress login credentials in LocalWP then it’s easy to reset your password using MailHog. As earlier, while setting up the software, LocalWP has created an email address that can be used to reset passwords.
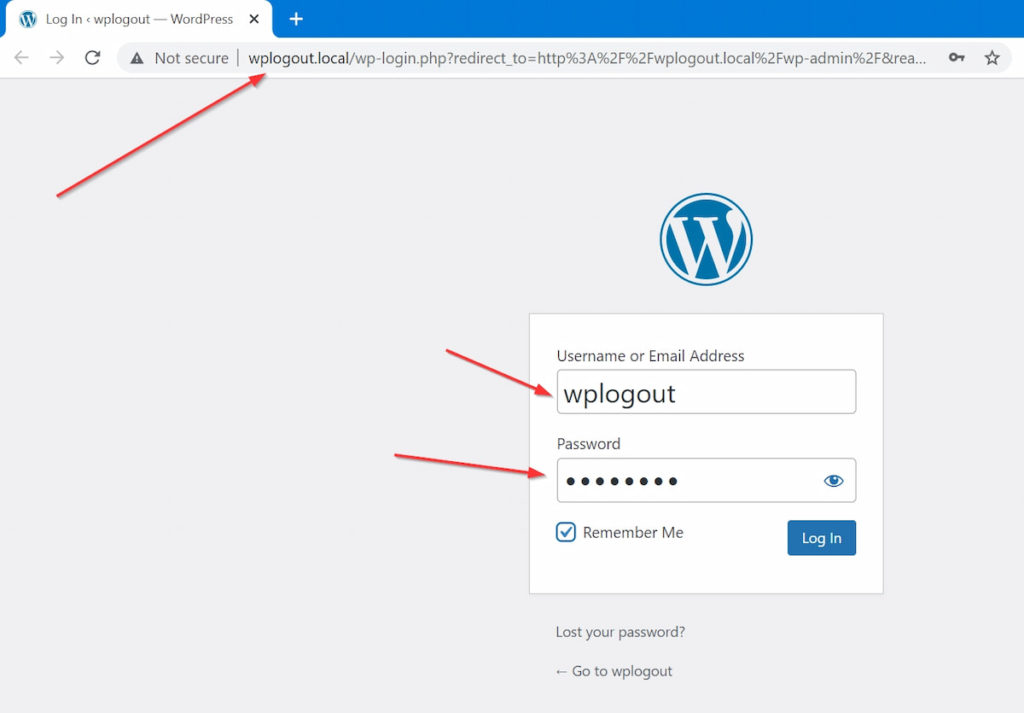
- Go to your local project URL.
- Click On Lost your password.
- Enter your username/email address.
- Now, you to your LocalWP interface.
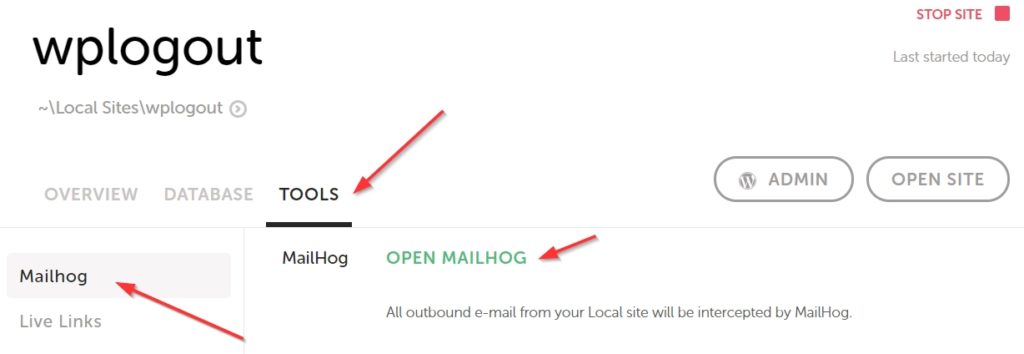
- Click on Tools > MailHog > Open MailHog.
- Check the latest email where you may have gotten the Password Reset email.
- Click on the link and set a new password.
How to use LiveLinks?
One of the best features of LocalWP is that you can share your locally hosted project from your local WordPress development area to anyone on the internet using LiveLinks.
The LiveLinks helps push the site live without needing the remote server which is one of the handy features in LocalWP.
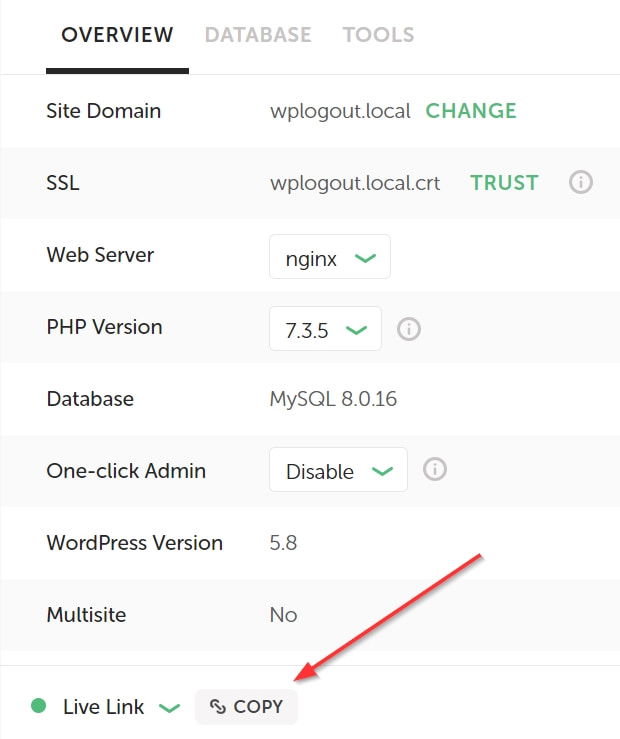
- After visiting to LocalWP interface. Enable the site project.
- To enable Live Links you need to login to LocalWP.
- After that Click on Enable.
- Now you will be able to copy and share the link with your teammates.
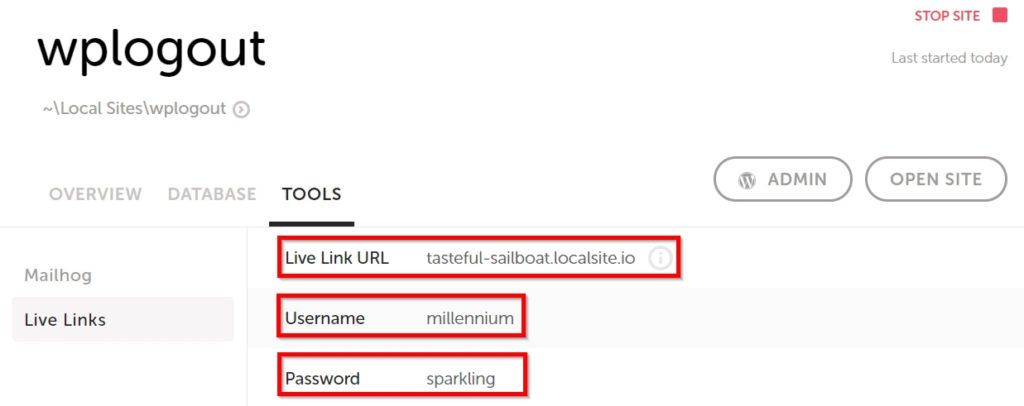
- Note that you need to share the Livelink username and password.
- Go to Tools > Live Links to get the URL, Username, and Password.
At the End
Furthermore, you can push your site to live hosting from the Local WordPress Development area. Recently, LocalWP by Flywheel has made all pro features available to download and use it. so, enjoy the LocalWP which is available in Mac, Windows, and Linux.
Currently, LocalWP supports syncing your locally hosted projects to FlyWheel and WPEngine where you can pull and push your site with few clicks.
If you have any queries related to LocalWP and its features then you can post directly to the comment area.
Great job sir!!❤ your tutorials are just awesome!!✌
Hi Unish,
Thank You so much 🙂
Great job, Mr. Suraj Katwal!
It was very educational and very well explained. Easy to read and to follow, and complete. Thank you!
Ricardo
Thanks Ricardo 🙂
Hello,
I was wondering that I recently downloaded localwp and working on my website locally before it goes online. The features looks like it doesn’t have premium options? Is this normal? Feel free to contact me via email.
If you are new to web development, you’ve likely heard the term Local WordPress Development. Local WordPress Development is when you install WordPress on your computer instead of a web server. This allows you to test changes to your WordPress site before making them live. Learn to host WordPress locally and its advantages.